In this guide
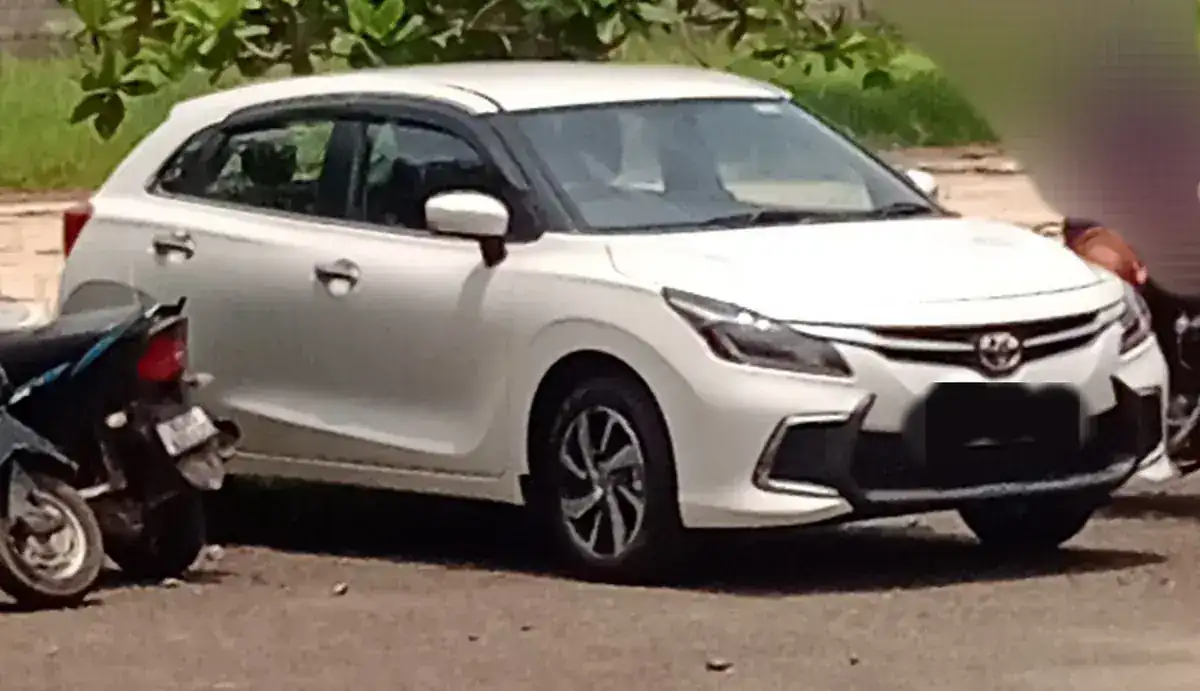
A damaged headlight affects more than the appearance of a Toyota Glanza. Water can enter a cracked housing, a broken mounting lug can change the beam direction, and nearby wiring may have been stretched during the collision. Customers seeking Glanza headlight replacement in Guwahati can contact CarTech Hub for assessment and insurance documentation assistance. The priority is to establish the lamp specification and damage extent, then explain a repair that restores dependable lighting rather than choosing an assembly by appearance alone.
Distinguish an impact from an electrical fault
Tell the workshop whether the lamp failed immediately after a collision, gradually became dim or showed condensation before the incident. A dark lamp can involve a bulb, connector, power supply or internal electronics; it does not automatically justify a complete assembly claim. Preserve an honest history of earlier yellowing, damage or electrical work. Normal deterioration and unrelated faults should be recorded separately from the accidental loss being assessed.
Match the Glanza's actual lighting specification
Toyota's current Glanza information distinguishes halogen projector and LED lighting according to grade. Earlier production versions also require their own checks. The side, year, variant, connector, levelling provisions and applicable daytime-running-light equipment should be confirmed before an order. A visually similar assembly from another model is not automatically a suitable replacement.
A useful estimate identifies the headlamp unit, affected bulb or module where separately serviceable, mounting brackets, seals and connectors that need attention. Clarify the source, specification and availability of proposed parts. CarTech Hub should not promise that every lamp component is in stock or that a replacement includes all associated electronics.
Inspect the supports surrounding the lamp
The bumper edge, fender attachment, upper support and lower lamp mounting can influence fit. If a new lamp will not sit correctly, the remedy is to investigate displaced supports rather than force it into position. Damaged wiring should be assessed for proper repair or replacement, with no loose connections hidden behind the housing. Signs of deeper front-end or airbag damage call for appropriate specialist assessment and referral where capability has not been confirmed.
Moisture needs an explanation
A brief mist and persistent water accumulation are different observations. Photograph the condition when safely parked, but do not drill a housing, apply household sealant or open a sealed LED unit to conceal the problem. The appropriate response depends on the lamp design and manufacturer information. Drying the visible lens does not establish that internal components or seals are sound.
Agree on replacement and beam verification
For damaged optical surfaces or broken essential mountings, the assessment may recommend replacing the assembly. Any proposed localized repair must be suitable for the component and preserve secure positioning. After installation, levelling operation and beam aim should be checked with the correct method. Substituting a higher-output bulb or an incompatible LED conversion is not a reliable way to restore the original lighting function.
Document the headlamp claim accurately
Report the accident to your insurer and obtain its current document checklist. Policy schedule, RC, incident driver's licence, photographs, claim form where required and the itemized repair estimate are typical starting points. Add police or third-party records when requested for the circumstances. A close photograph of the broken lens should be accompanied by a wider image showing its position and surrounding damage. These records help the surveyor understand why a mounting or connector is included in the estimate.
Allow the insurer to assess the proposed work
Follow instructions for digital images or a survey before discarding the damaged unit or beginning authorized repair. Approval of a headlamp does not automatically approve unrelated bumper painting or a lighting upgrade. If a bracket issue is discovered later, send supporting evidence and seek supplementary authorization. TATA AIG customers can consult its official four-wheeler claim guidance; owners with another insurer should use that company's own channels.
Clarify cashless eligibility and personal payment
CarTech Hub provides accident repair and claim assistance as an independent multi-brand workshop. Cashless settlement must be confirmed against insurer approval, policy conditions, survey findings and workshop/network arrangements. A deductible, depreciation where applicable, excluded consumables or unrelated damage may remain the customer's responsibility. Even a zero-depreciation add-on has conditions; it does not make every item free. Obtain an explanation of the approved amount and expected contribution before giving repair consent.
Look after the lighting after handover
Check the low and high beam, indicators and fitted daytime-running lights with the team. Retain the part details and handover record. Clean lamp surfaces with an appropriate gentle method and report recurring moisture rather than polishing it away. Periodic Glanza maintenance should still follow its own manual, including correct oil and filters, brake inspection and tyre checks. For a wider service enquiry, the Glanza model guide explains how year and transmission affect parts selection; the Taisor guide covers a different Toyota model, not interchangeable lamp parts.
Book a lighting inspection appointment or request an insurance claim enquiry with photographs and policy information. Use Call Now for advice about a vehicle with unusable lighting, or WhatsApp Us for a parked-vehicle enquiry. Our Google Reviews page provides the configured review link without an invented rating or insurer affiliation.
Official insurer claim channels
Choose your insurer’s official claim-intimation link. Submit policy and identity information directly through the insurer’s approved channel. Its process and cashless authorization remain subject to your policy and the assessed claim.
Quick answers
Why does my replacement Glanza lamp look different from the other side?
First compare the part specification, year and grade, then check ageing of the remaining lamp and beam alignment. Do not assume that a matching external outline proves the new unit has the correct optics or electrical connections.
Should I discard a cracked headlamp before the insurance survey?
Keep it available unless the insurer or surveyor gives disposal instructions. Clear photographs and the damaged assembly can support assessment of the lens, tabs and internal damage.
Can a new bulb solve a headlamp full of water?
A bulb alone does not correct a cracked housing, poor sealing or corroded connections. Ask for the moisture source and affected components to be identified before approving the replacement scope.
How can I report a beam that points upward after a small collision?
Describe which side is affected and whether the lamp sits unevenly against the bumper or fender. Arrange a mounting and beam check; do not drive at night with lighting that impairs visibility or dazzles other road users.
Vehicle and claim reference information
Use the manual for your exact vehicle and the issued insurance policy. These sources provide background and do not establish a workshop authorization or insurer tie-up.